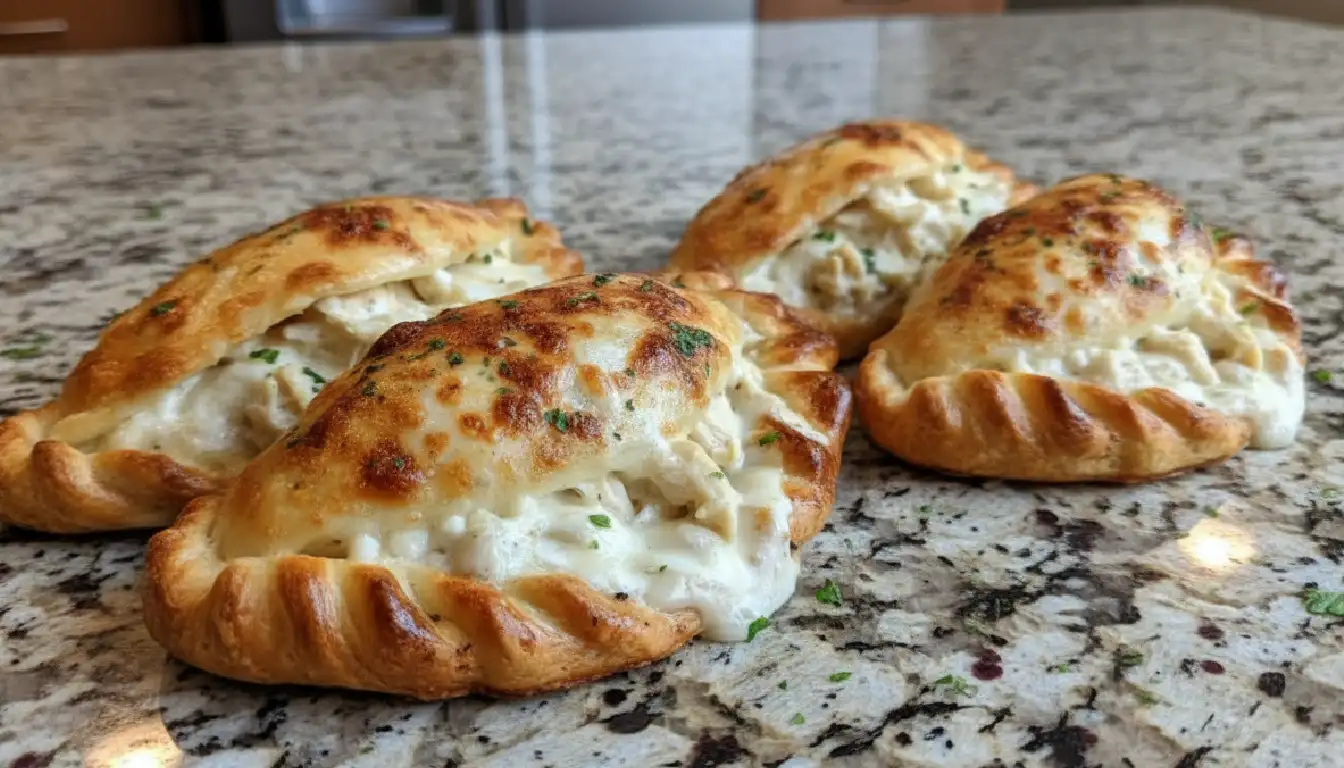
Easy Cheesy Chicken Pockets: A Crispy and Golden Weeknight Dinner
There is something undeniably comforting about the scent of buttery dough baking in the oven. It fills the kitchen with a warmth that pulls everyone toward the stove long before the timer dings. These Cheesy Chicken Pockets were born out of one of those chaotic Tuesday evenings when the fridge looked bare, but the hunger in the house was high. I wanted something that felt like a gourmet pastry but had the soul of a home-cooked meal. When I pulled that first tray out, seeing the golden-brown crust stretching over a molten, creamy center, I knew I had stumbled onto a keeper. The first bite offers a satisfying crunch that gives way to tender chicken enveloped in a rich, savory sauce. It is the kind of meal that feels like a hug in handheld form.
Why You’ll Love This
Handheld Convenience: These pockets are perfect for busy families on the go or for a casual dinner on the couch without the need for heavy silverware.
Texture Contrast: You get the perfect balance between a flaky, crispy exterior and a velvety, melted cheese interior.
Infinite Versatility: The base recipe is wonderful, but it serves as a canvas for whatever herbs or extra vegetables you have lingering in your crisper drawer.
Quick Preparation: By using simple shortcuts, you can have these on the table in under thirty minutes without sacrificing that “made from scratch” flavor.
I remember serving these to my neighbor’s son, a self-proclaimed “chicken hater” who usually picks apart every meal looking for hidden onions or greens. He sat at the counter, eyed the golden pastry suspiciously, and took a tentative nibble. Within five minutes, the entire pocket had vanished, and he was asking if there were “seconds in the magic oven.” It turns out that when you wrap tender chicken in a buttery crust and smother it in melted cheddar, even the toughest critics find it impossible to say no.
What Makes It Special
Rotisserie Chicken: Using pre-cooked chicken saves time and ensures the filling is incredibly tender and perfectly seasoned.
Cream Cheese Base: This creates a thick, luxurious binder that keeps the chicken moist and prevents the pastry from becoming soggy.
Sharp Cheddar: A high-quality sharp cheddar provides a bold punch of flavor that stands up against the richness of the dough.
Garlic and Herb Seasoning: A simple blend of aromatics elevates the filling from basic to restaurant-quality with very little effort.
Making It Happen
The process begins with preparing the heart of the dish: the creamy filling. In a large mixing bowl, you will blend the softened cream cheese with your shredded chicken and cheddar. As you stir, the mixture becomes thick and savory, especially once you fold in the garlic powder and a pinch of black pepper. The key is to ensure the chicken is finely shredded so every bite of the Cheesy Chicken Pockets Recipe is consistent.
Once your filling is ready, you will lay out your dough on a clean surface. Whether you are using crescent sheets or puff pastry, the goal is to create even rectangles. Spoon a generous portion of the chicken mixture into the center of each piece, leaving just enough room around the edges to seal them. Folding the dough over is the most satisfying part; you simply press the edges together with a fork, creating those classic, rustic crimps that look so beautiful once baked.
The final step is the transformation in the oven. Brushing the tops with a little melted butter or an egg wash ensures that the pockets develop a deep, mahogany gold hue. As they bake, the cheese inside begins to bubble and meld with the cream cheese, creating a decadent sauce that coats the chicken. You will know they are ready when the edges are crisp to the touch and the aroma of toasted butter is impossible to ignore.
You Must Know
Seal the Edges Tight: Use a fork to crimp the edges firmly. This prevents the steam from forcing the cheese to leak out onto your baking sheet.
Don’t Overstuff: It is tempting to add extra filling, but leaving a small border ensures the pastry can rise and crisp up properly.
Temperature Matters: Make sure your cream cheese is truly at room temperature before mixing, otherwise, you will end up with small lumps instead of a smooth sauce.
Serving Ideas
These pockets are quite rich, so they pair beautifully with a bright, acidic side dish. A simple garden salad with a lemon vinaigrette or a pile of steamed green beans provides a fresh contrast to the buttery pastry. For a more indulgent meal, consider serving them alongside a small bowl of roasted tomato soup for dipping.
When it comes to drink pairings, a cold glass of sweetened iced tea with plenty of lemon is a classic choice. If you prefer something from the cellar, a crisp Chardonnay or a light Sauvignon Blanc has the acidity needed to cut through the richness of the melted cheese and cream.
Make It Different
If you want to shake things up, try swapping the cheddar for pepper jack and adding a tablespoon of diced canned jalapeños for a spicy kick. For those looking to add more greens, finely chopped steamed broccoli fits perfectly into the filling and pairs wonderfully with the chicken. If you are out of crescent dough, frozen puff pastry works beautifully for an even flakier, more decadent result. You can even turn these into “Pizza Pockets” by using mozzarella and adding a pepperoni slice inside the filling.
Storage and Reheating
If you happen to have leftovers, these store remarkably well. Place them in an airtight container in the refrigerator for up to three days. To maintain that signature crunch, avoid the microwave if possible. Instead, pop them into a 350°F oven or an air fryer for about 5 to 7 minutes. This revives the pastry, making it just as flaky as the day it was made, while ensuring the cheese center is hot and gooey again.
Success Tips
For the absolute best results, try to shred your own cheddar cheese from a block rather than using the pre-shredded bags. The starch used to keep pre-shredded cheese from sticking can sometimes prevent it from melting into that perfectly smooth consistency we want inside the pocket. Additionally, let the pockets rest for about five minutes after they come out of the oven. This allows the filling to set slightly so it doesn’t spill out immediately when you take your first bite.
Frequently Asked Questions
Can I make these ahead of time?
Yes, you can assemble the pockets and keep them covered in the fridge for a few hours before baking. Just add a couple of minutes to the cook time if they are going into the oven cold.
Can I use raw chicken breast?
It is highly recommended to use pre-cooked chicken for this specific recipe. If you use raw chicken, it will release moisture as it cooks, which will make the pastry soggy and may not cook through fully in the time it takes the dough to brown.
Is it possible to freeze these?
Absolutely. You can freeze them either before or after baking. If freezing before, bake them straight from the freezer and add about 10 minutes to the total time.
What is the best dough to use?
Crescent roll dough is the easiest and most common choice, but puff pastry offers a more “gourmet” feel. Even refrigerated pizza dough can work if rolled thin.
Do I need a dipping sauce?
While they are juicy enough on their own, many people enjoy dipping them in ranch dressing, honey mustard, or even a little extra warm gravy.
Prep time: 15 minutes
Cook time: 15 minutes
Total time: 30 minutes
Servings: 8 pockets
Category: Main Course
Difficulty: Easy
Cuisine: American
Yield: 8 individual pockets
Equipment: Large mixing bowl, baking sheet, parchment paper, fork
Ingredients
2 cups cooked chicken, shredded
4 oz cream cheese, softened to room temperature
1 cup sharp cheddar cheese, shredded
1 teaspoon garlic powder
1/2 teaspoon onion powder
1/4 teaspoon black pepper
2 cans (8 oz each) refrigerated crescent rolls or crescent sheets
2 tablespoons salted butter, melted
1/2 teaspoon dried parsley (optional for garnish)
Instructions
Preheat your oven to 375°F and line a large baking sheet with parchment paper to prevent sticking. In your mixing bowl, combine the shredded chicken, softened cream cheese, cheddar cheese, garlic powder, onion powder, and black pepper. Stir until the chicken is evenly coated and the mixture is cohesive. Unroll your crescent dough. If using rolls, press the perforations together to create four large rectangles per can. Place a large scoop of the chicken mixture onto one half of each rectangle. Fold the other half of the dough over the filling and use a fork to seal the three open edges. Place the pockets on the prepared baking sheet. Brush the tops with melted butter and sprinkle with dried parsley if desired. Bake for 12 to 15 minutes, or until the pastry is deep golden brown and crisp. Allow to cool for five minutes before serving.
Notes
If you find the dough is getting too warm and soft while you are working, place it in the fridge for ten minutes to firm up. This makes sealing the edges much easier.
Nutrition
Calories: 340kcal | Carbohydrates: 22g | Protein: 16g | Fat: 24g | Saturated Fat: 12g | Cholesterol: 65mg | Sodium: 620mg