
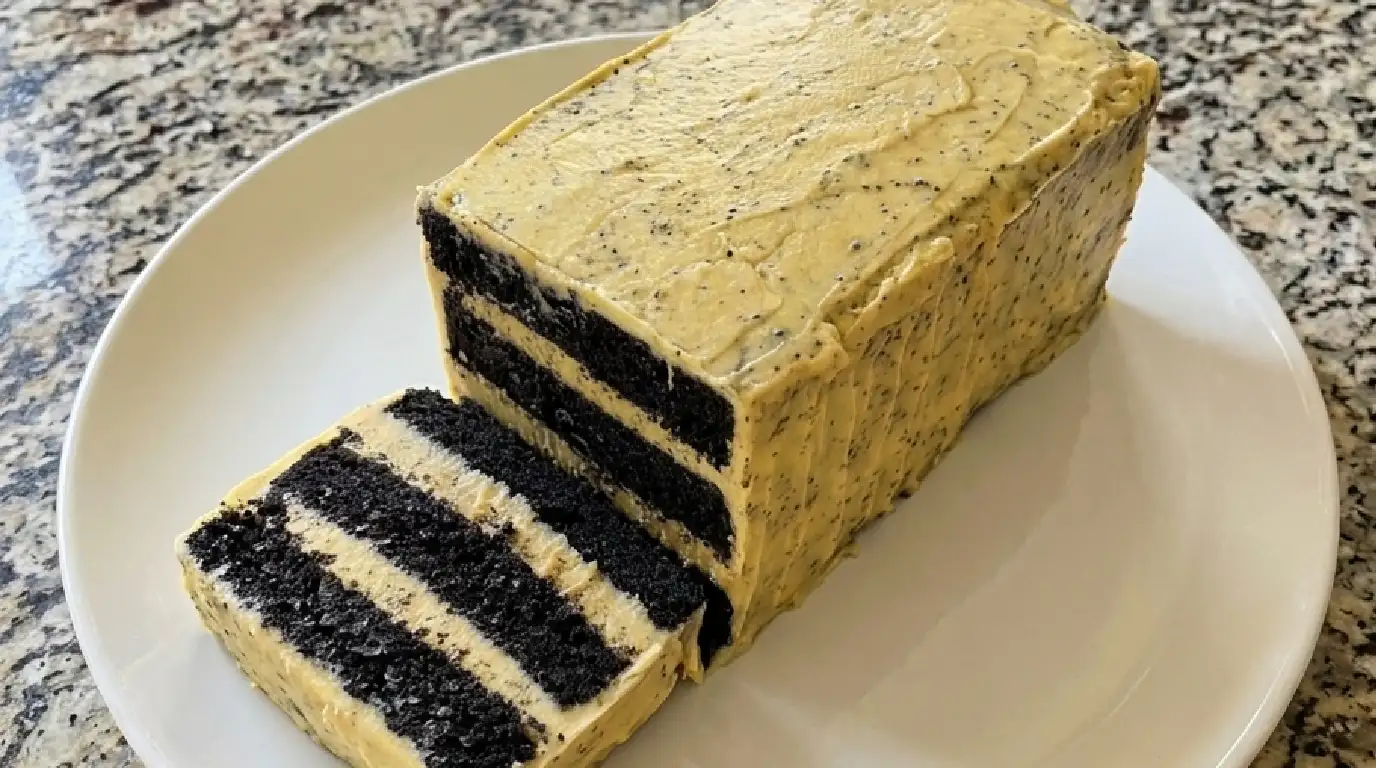
Marble Butter Cake Recipe That Swirls Vanilla and Chocolate Into Pure Comfort
There’s something about cutting into a marble butter cake and seeing those swirls appear that never gets old. You pour two batters into one pan, drag a knife through them a few times, and the oven does something you can’t fully predict. Every slice looks a little different. That’s part of the charm.
I started making this cake years ago after a particularly stressful week, mostly because I wanted something buttery and familiar that didn’t require decisions. Vanilla or chocolate? Why not both. The batter is thick and glossy, the kind that clings to the spatula and smells like a bakery before it even hits the oven. Once baked, the crumb turns tender and moist, with a golden crust that gives way to soft, buttery cake underneath. It’s the kind of dessert that fills the kitchen with warmth and pulls people toward the counter before it’s even cooled.
This isn’t a fussy cake. No layers to stack, no fondant, no piping bags. Just good butter, real eggs, and a swirl pattern that looks far more impressive than the effort it actually takes.
Why You’ll Love This
- It looks bakery-fancy but comes together with basic pantry ingredients and one bowl of batter split in two.
- The texture stays moist for days, so it’s a great make-ahead dessert for guests or weekday cravings.
- You get both chocolate and vanilla in a single bite, which settles that debate for good.
- It slices beautifully, making it a solid choice for potlucks, birthdays, or just a quiet afternoon with coffee.
- There’s no complicated frosting or decorating skill required. The marbling does all the visual work for you.
The Backstory
My mother-in-law is not an easy person to impress in the kitchen. She bakes from scratch, doesn’t trust boxed mixes, and has strong opinions about butter temperature. The first time I brought this cake to a family dinner, I honestly expected polite silence. Instead, she asked for the recipe before dessert was even finished being served. She kept going back for “just one more sliver,” which from her is basically a standing ovation. What got her, she said later, was the crumb. Dense enough to feel substantial, but soft enough to almost melt on the fork. Now it’s the cake I bring every single time, no negotiation involved.
What Makes It Special
- Butter: Real, softened butter gives the cake its rich flavor and tender crumb. This isn’t a recipe to swap in margarine.
- Eggs: They add structure and a slight richness that keeps every bite from feeling dry.
- Cocoa powder: Unsweetened cocoa creates the deep chocolate swirl without making half the cake overly sweet.
- Vanilla extract: A generous splash rounds out the plain batter and keeps it from tasting flat next to the chocolate.
- Buttermilk or milk: Adds moisture and a gentle tang that balances the sweetness of the sugar.
- Baking powder: Gives the cake its lift so it stays light instead of dense and heavy.
Making It Happen
Start by creaming the softened butter and sugar together until the mixture turns pale and fluffy, almost like whipped frosting. This step matters more than people think. It’s where air gets worked into the batter, which later helps the cake rise evenly. Add the eggs one at a time, letting each one fully incorporate before adding the next, then stir in the vanilla.
In a separate bowl, whisk together the flour, baking powder, and salt. Alternate adding this dry mixture and the milk into the butter mixture, starting and ending with the flour. Mix just until combined. Overmixing at this stage is what leads to a tough, rubbery cake, so stop as soon as the streaks of flour disappear.
Divide the batter into two portions. Into one half, fold in the cocoa powder along with a splash of extra milk to loosen it slightly, since cocoa tends to stiffen batter. Now comes the fun part. Spoon dollops of vanilla and chocolate batter into the prepared pan in a random pattern, alternating colors as you go. Once everything is in the pan, drag a butter knife or skewer through the batter in loose swirling or figure-eight motions. Don’t overdo it. A few passes create those marbled ribbons; too many and the colors just blend into a muddy brown.
Bake in a preheated oven until the top turns golden and a toothpick inserted into the center comes out clean or with just a few moist crumbs clinging to it. Let the cake rest in the pan for about ten minutes before turning it out onto a wire rack to cool completely. Slicing it warm might seem tempting, but giving it time to set makes for cleaner, prettier slices with that signature swirl on full display.
You Must Know
- Room temperature ingredients matter here. Cold eggs or butter straight from the fridge won’t blend smoothly and can leave your cake dense in spots.
- Don’t skip sifting the cocoa powder before mixing it in. Clumps of cocoa turn into bitter little pockets in the finished cake.
- Resist overmixing once the flour goes in. Gentle folding keeps the crumb soft instead of tight and chewy.
- Use a light touch when swirling the batters together. A few strokes give you a clean marble effect; too many and you lose the contrast entirely.
- Check doneness a few minutes before the recipe’s suggested bake time, since ovens vary and this cake can dry out if left too long.
Serving Ideas & Pairings
This cake is happy on its own, but a light dusting of powdered sugar makes it look finished without extra work. Serve it alongside fresh berries or a small scoop of vanilla ice cream if you want to dress it up for company. For beverages, a cup of black coffee or espresso cuts nicely through the sweetness, while a glass of cold milk is the classic pairing that never fails. If you’re serving it in the afternoon, a pot of black tea works beautifully too.
Make It Different
- Gluten-free: Swap the all-purpose flour for a 1:1 gluten-free baking blend. The texture stays close to the original, just slightly denser.
- Dairy-free: Use a plant-based butter and your preferred non-dairy milk with a splash of vinegar or lemon juice to mimic buttermilk’s tang.
- Extra flavor twist: Add a teaspoon of espresso powder to the chocolate batter for a deeper, more intense cocoa flavor without adding coffee taste.
- Citrus version: Stir orange or lemon zest into the vanilla batter for a brighter, fresher contrast against the chocolate swirl.
- Nutty addition: Fold in finely chopped toasted pecans or walnuts for texture and a warm, toasty flavor.
Storage & Reheating
Once fully cooled, store the cake in an airtight container at room temperature for up to three days. If your kitchen runs warm or humid, keep it in the refrigerator instead, where it will stay fresh for about a week. Let refrigerated slices sit out for fifteen minutes before serving so the butter can soften back up. This cake also freezes well: wrap individual slices tightly in plastic wrap, then foil, and freeze for up to two months. Thaw at room temperature or give a slice a quick ten-second zap in the microwave for that fresh-baked warmth again.
Success Tips
Weigh your flour if you have a kitchen scale, since scooping directly from the bag tends to pack in extra flour and dry out the cake. If your kitchen is on the cooler side, warm your eggs in a bowl of warm water for a few minutes before using them, since cold eggs can cause the batter to look slightly curdled. And when it comes to swirling, think restraint rather than artistry. The prettiest marble cakes are often the ones where the baker did the least fussing with the pattern.
Frequently Asked Questions
Can I use a boxed cake mix instead of making the batter from scratch? You can, though the texture and flavor won’t be quite as rich. If you’re short on time, use a butter-based boxed mix and split it the same way, adding cocoa powder to one half.
Why did my marble pattern disappear after baking? This usually happens from over-swirling the batters before baking. A few gentle passes with a knife is all you need. Too much mixing blends the colors together into one shade.
Can I make this cake ahead of time for a party? Absolutely. It actually tastes even better the next day once the flavors have settled. Just store it properly and bring it to room temperature before serving.
My cake sank in the middle. What went wrong? This is often caused by underbaking, opening the oven door too early, or old baking powder that’s lost its potency. Double-check your baking powder’s freshness and resist peeking during the first twenty minutes of baking.
Can I bake this in a bundt pan instead of a loaf or round pan? Yes, a bundt pan works wonderfully and creates a beautiful marbled pattern when sliced. Just adjust your bake time slightly, since bundt pans often need a bit longer than standard cake pans.
Recipe Card Info
Prep time: 20 minutes Cook time: 50 minutes Total time: 1 hour 10 minutes Servings: 10 slices Category: Dessert Difficulty: Easy to Moderate Cuisine: American Yield: One 9-inch loaf or bundt cake
Equipment: Mixing bowls, hand or stand mixer, rubber spatula, 9-inch loaf pan or bundt pan, wire cooling rack, skewer or butter knife
Ingredients
- 1 cup (2 sticks) unsalted butter, softened
- 1 1/2 cups granulated sugar
- 4 large eggs, room temperature
- 2 teaspoons vanilla extract
- 2 1/2 cups all-purpose flour
- 2 1/2 teaspoons baking powder
- 1/2 teaspoon salt
- 1 cup buttermilk or whole milk, room temperature
- 1/3 cup unsweetened cocoa powder
- 2 tablespoons additional milk (for loosening the cocoa batter)
Directions
Step 1: Prepare the pan and oven Preheat the oven to 350°F (175°C). Grease and lightly flour a 9-inch loaf pan or bundt pan, or line it with parchment paper for easy removal.
Step 2: Cream the butter and sugar In a large mixing bowl, beat the softened butter and sugar together until the mixture turns pale and fluffy, about 3 to 4 minutes.
Step 3: Add the eggs and vanilla Add the eggs one at a time, beating well after each addition. Stir in the vanilla extract.
Step 4: Combine dry ingredients In a separate bowl, whisk together the flour, baking powder, and salt.
Step 5: Alternate dry and wet ingredients Add the flour mixture and milk to the butter mixture in three additions, starting and ending with the flour. Mix just until combined.
Step 6: Split and flavor the batter Divide the batter evenly into two bowls. Into one bowl, fold in the cocoa powder and the extra 2 tablespoons of milk until smooth.
Step 7: Layer and swirl Spoon alternating dollops of vanilla and chocolate batter into the prepared pan. Drag a knife or skewer through the batter in a few loose swirling motions to create the marble pattern.
Step 8: Bake Bake for 45 to 55 minutes, or until a toothpick inserted into the center comes out clean or with a few moist crumbs.
Step 9: Cool and serve Let the cake cool in the pan for 10 minutes, then turn it out onto a wire rack to cool completely before slicing.
Notes
For the cleanest slices, let the cake cool fully before cutting. A serrated knife works best for neat, even pieces. If you want a more pronounced chocolate flavor, use dark or Dutch-process cocoa powder instead of standard unsweetened cocoa.
Nutrition
Approximate values per slice (based on 10 servings):
Calories: 340 Total Fat: 16g Saturated Fat: 9g Cholesterol: 95mg Sodium: 220mg Total Carbohydrates: 44g Dietary Fiber: 1g Sugars: 26g Protein: 5g
Nutrition values are estimates and can vary based on specific ingredients and brands used.
