Old Fashioned Yeast Rolls: A Soft, Buttery, and Nostalgic Recipe
The Scent of Memory
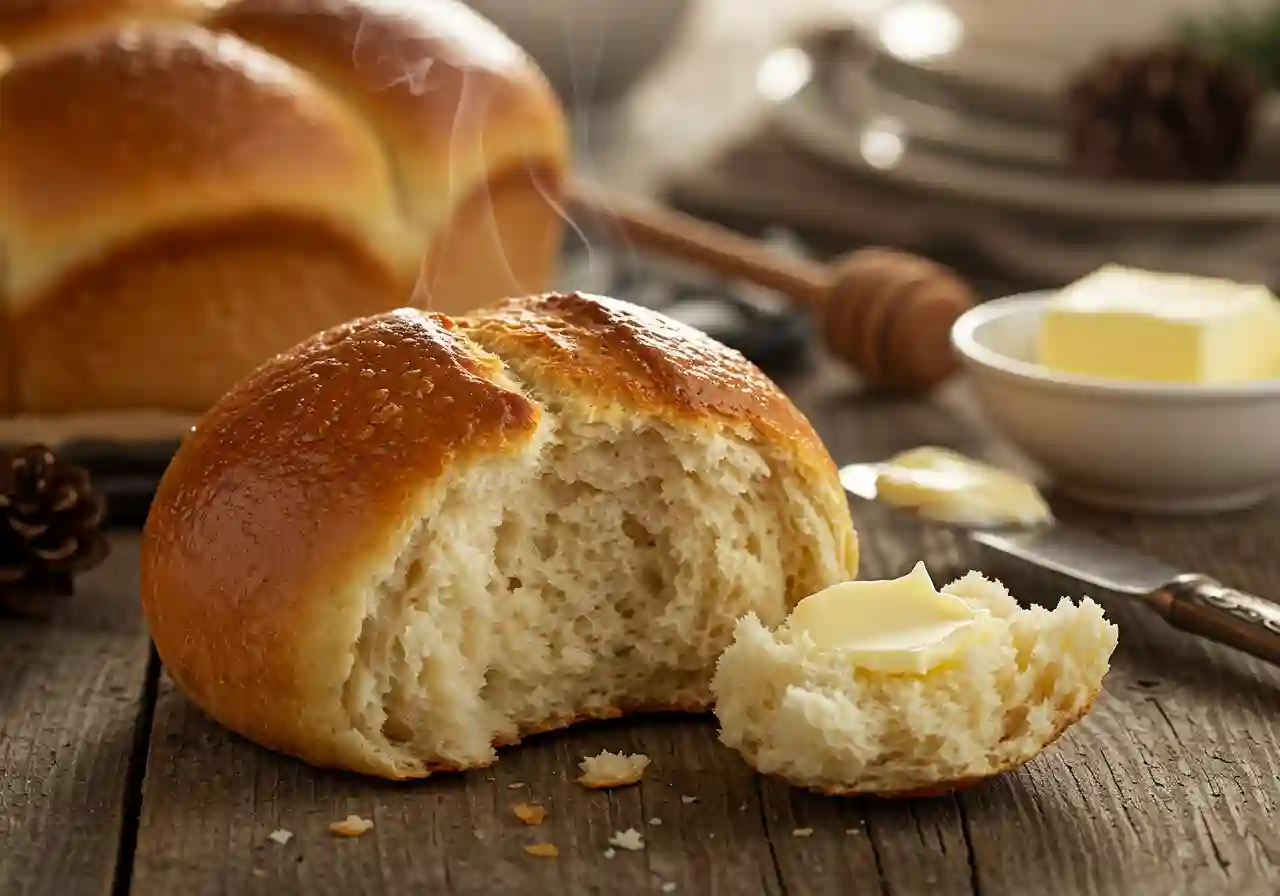
There’s a particular magic that happens in a kitchen when yeast, flour, and warmth collide. It’s a smell that transports me instantly to my grandmother’s kitchen, where a tea towel was always draped over a rising bowl of dough. These Old Fashioned Yeast Rolls are more than a recipe; they are a warm, fragrant embrace from the past. They require no special skills, just a little patience, and they reward you with the most incredibly soft, feather-light, and buttery rolls you’ll ever taste. The sound of their golden tops cracking slightly as you pull them apart is a promise of the tender, cloud-like interior waiting inside.
Why You’ll Love This Recipe
The Ultimate Comfort Food: Nothing says “welcome” or “I care” quite like a basket of warm, homemade rolls passed around the table.
Surprisingly Simple: While yeast can be intimidating, this recipe walks you through each step with clear, simple instructions for foolproof success.
Incredibly Versatile: This dough is a blank canvas. Enjoy them classic and buttery, or add herbs, cheese, or honey for a different twist every time.
Freezer-Friendly Champion: Make a big batch and freeze them, either before or after baking, for fresh-baked roll goodness anytime a craving strikes.
A Story of Success: The Picky Eater’s Seal of Approval
I’ll never forget the first time I served these to my friend’s son, a renowned connoisseur of chicken nuggets and plain pasta. He eyed the basket of rolls with suspicion. After some gentle coaxing, he took one, pulled it apart, and watched the steam rise. A tiny bite turned into a whole roll, and then he quietly asked for another. His mother looked at me as if I’d performed a miracle. There’s just something about the soft, slightly sweet, and buttery flavor that wins over even the most skeptical of eaters.
What Makes It Special
Active Dry Yeast & Perfectly Warm Water: This combination is the heart of the recipe, creating a light and airy texture. The precise water temperature (100-110°F) wakes the yeast up gently, ensuring a strong, foamy rise.
Honey: A touch of honey provides a subtle, warm sweetness that balances the salt and butter, and it gives the yeast a perfect food source for a robust rise.
Real Salted Butter: Using real butter, both in the dough and brushed on top after baking, creates an incomparably rich flavor and a tender, moist crumb.
Weight Measurements for Flour: For ultimate accuracy and consistent results every time, we recommend weighing the flour. This simple step takes the guesswork out of baking.
Making It Happen: A Step-by-Step Narrative
First, we wake up the yeast. In a bowl, stir together the warm water (think bathwater, not hot tap water) and honey. Sprinkle the yeast over the top and let it sit for about 5 minutes. You’ll know it’s ready when it looks foamy and smells distinctly bready—this is the sign of happy, active yeast.
In a large mixing bowl, combine the softened butter, eggs, salt, and flour. If you have a kitchen scale, now is the time to use it. Place your bowl on the scale, zero it out, and add the flour until you hit 1000 grams for perfect consistency. Pour in the foamy yeast mixture and get ready to knead.
Kneading is where the dough transforms. By hand or with a mixer’s dough hook, knead for 7-10 minutes until the dough is smooth, elastic, and springs back slowly when you poke it. Transfer this beautiful ball of dough to a lightly oiled bowl, cover it with a clean towel or plastic wrap, and find a warm, draft-free spot for it to rest. Let it rise for about an hour, or until it has nearly doubled in size.
Once risen, gently deflate the dough and turn it out onto a clean surface. We’ll divide it into 30 even pieces, each about the size of a golf ball (around 58-60 grams if you’re weighing). The secret to perfectly round rolls is in the shaping: cup your hand over a piece of dough in a “C” shape and move it in small, tight circles on the counter. The pressure from your hand will drag the edges underneath, creating a smooth, taut top.
Place these shaped rolls into a greased 11×18 inch baking pan, arranging them in rows of 5 by 6. Give them a light spritz with baking spray to prevent drying, cover them again, and let them rise for a second time. After about 45 minutes of this second rise, preheat your oven to 375°F. The rolls are ready to bake when they look puffy and the gaps between them have mostly filled in.
Bake on the middle or bottom rack for 15-16 minutes. This placement ensures the bottoms get a beautiful, golden-brown crust. The moment you pull them from the oven, while they’re still piping hot, brush them generously with melted butter. This final step gives them a gorgeous sheen and an irresistible buttery flavor.
You Must Know: Tips for Success
Water Temperature is Key: Too hot, and you’ll kill the yeast; too cold, and it won’t activate. A simple kitchen thermometer is your best friend here.
The Windowpane Test: To know if you’ve kneaded enough, take a small piece of dough and gently stretch it. It should stretch thin enough to be translucent without tearing—this is the “windowpane” and indicates well-developed gluten.
Patience with the Rise: Don’t rush the rising times. The dough will rise at different speeds depending on the temperature of your kitchen. It’s done when it’s visibly puffy and doubled, not when the timer dings.
Brush While Hot: Brushing the melted butter on the hot rolls allows it to soak in, creating a supremely tender crust.
Serving Your Masterpiece
Serve these Old Fashioned Yeast Rolls warm from the oven alongside a classic holiday feast like roast turkey and gravy, a cozy Sunday pot roast, or a simple bowl of soup. They are perfect for sopping up every last bit of goodness on the plate. For a drink pairing, a chilled glass of crisp Chardonnay or even a simple glass of cold milk complements the buttery richness beautifully.
Make It Different: Customization Ideas
Herb & Garlic: Knead in 2 tablespoons of finely chopped fresh rosemary or thyme and 1 teaspoon of garlic powder into the dough.
Whole Wheat: Substitute up to 2 cups of the all-purpose flour with whole wheat flour for a nuttier flavor and heartier texture.
Dairy-Free: Use a plant-based butter alternative and an egg substitute to make these rolls vegan-friendly.
Cheesy Pull-Aparts: Before the final rise, brush the tops with a little water and sprinkle generously with grated Parmesan cheese and a pinch of garlic salt.
Storage and Reheating Recipe Tips
Storing: Cool completely and store in an airtight container or zip-top bag at room temperature for up to 2 days.
Reheating for that Fresh-Baked Feel: To revive leftover rolls, wrap them in foil and warm in a 350°F oven for 10 minutes. For a crispier top, unwrap them for the last few minutes. You can also microwave a single roll for 10-15 seconds, but the oven method is superior.
Frequently Asked Questions (FAQ)
Q: Can I use instant yeast instead of active dry yeast?
A: Yes, you can. Use the same amount. You can typically mix instant yeast directly with the flour without proofing it first, but proofing it with the water and honey as directed in the recipe will still work perfectly.
Q: My dough didn’t rise. What went wrong?
A: The most common culprit is expired yeast or water that was too hot (which kills the yeast) or too cold (which doesn’t activate it). Always check the expiration date on your yeast and use a thermometer for the water.
Q: Can I make the dough ahead of time?
A: Absolutely. After the first rise, you can punch the dough down, cover it tightly, and refrigerate it for up to 24 hours. When ready, let it come to room temperature for about an hour before shaping and proceeding with the second rise.
Q: Why are my rolls dense?
A: Dense rolls are usually due to under-kneading the dough or not letting it rise long enough. Ensure you knead until the dough is elastic and let it rise until truly doubled in size.
Q: How do I freeze the unbaked dough balls?
A: After shaping the rolls, place them on a parchment-lined baking sheet and freeze until solid. Then, transfer the frozen dough balls to a zip-top bag. To bake, arrange the frozen balls in a pan, cover, and let them thaw and rise in a warm place for 4-5 hours before baking as directed.
Recipe Card: Old Fashioned Yeast Rolls
Prep Time: 30 minutes
Rise Time: 2 hours
Cook Time: 15 minutes
Total Time: 2 hours 45 minutes
Category: Bread, Side Dish
Difficulty: Beginner-Intermediate
Cuisine: American
Yield: 30 rolls
Ingredients
2 cups warm water (100-110°F / 475 mL)
1/4 cup honey (50 g)
4 teaspoons active dry yeast (14 g)
1/2 cup salted butter, softened (113 g)
2 large eggs
2 1/2 teaspoons salt
7 cups all-purpose flour (1000 g)
3-4 Tablespoons melted butter, for brushing
Instructions
Proof the Yeast: In a medium bowl, stir the warm water and honey together. Sprinkle the yeast over the top. Let it sit for 5-7 minutes, until foamy.
Make the Dough: In a large mixing bowl, combine the softened butter, eggs, salt, and flour. Pour in the yeast mixture. Knead by hand (7-10 minutes) or with a stand mixer fitted with a dough hook (5-7 minutes) until the dough is smooth and elastic.
First Rise: Place the dough in a lightly oiled bowl, turning to coat. Cover with a clean towel or plastic wrap and let rise in a warm place for 1 hour, or until nearly doubled in size.
Shape the Rolls: Punch down the dough. Turn it out onto a clean surface and divide it into 30 even pieces (about 58-60g each). Shape each piece into a smooth ball by cupping your hand and rolling it on the surface.
Second Rise: Arrange the dough balls in a greased 11×18-inch baking pan. Cover and let rise for 1 hour, or until puffy and the rolls have filled in the gaps. Preheat the oven to 375°F during the last 15 minutes of the rise.
Bake: Bake on the middle or bottom rack for 15-16 minutes, until golden brown.
Butter the Tops: Immediately after removing the rolls from the oven, brush the tops generously with the melted butter. Serve warm.
Notes:
For 24 larger rolls, shape into 72-73g balls.
To freeze unbaked: After shaping, freeze the dough balls on a sheet pan, then transfer to a bag. To bake, arrange frozen balls in a pan, cover, and let thaw/rise for 4-5 hours before baking.