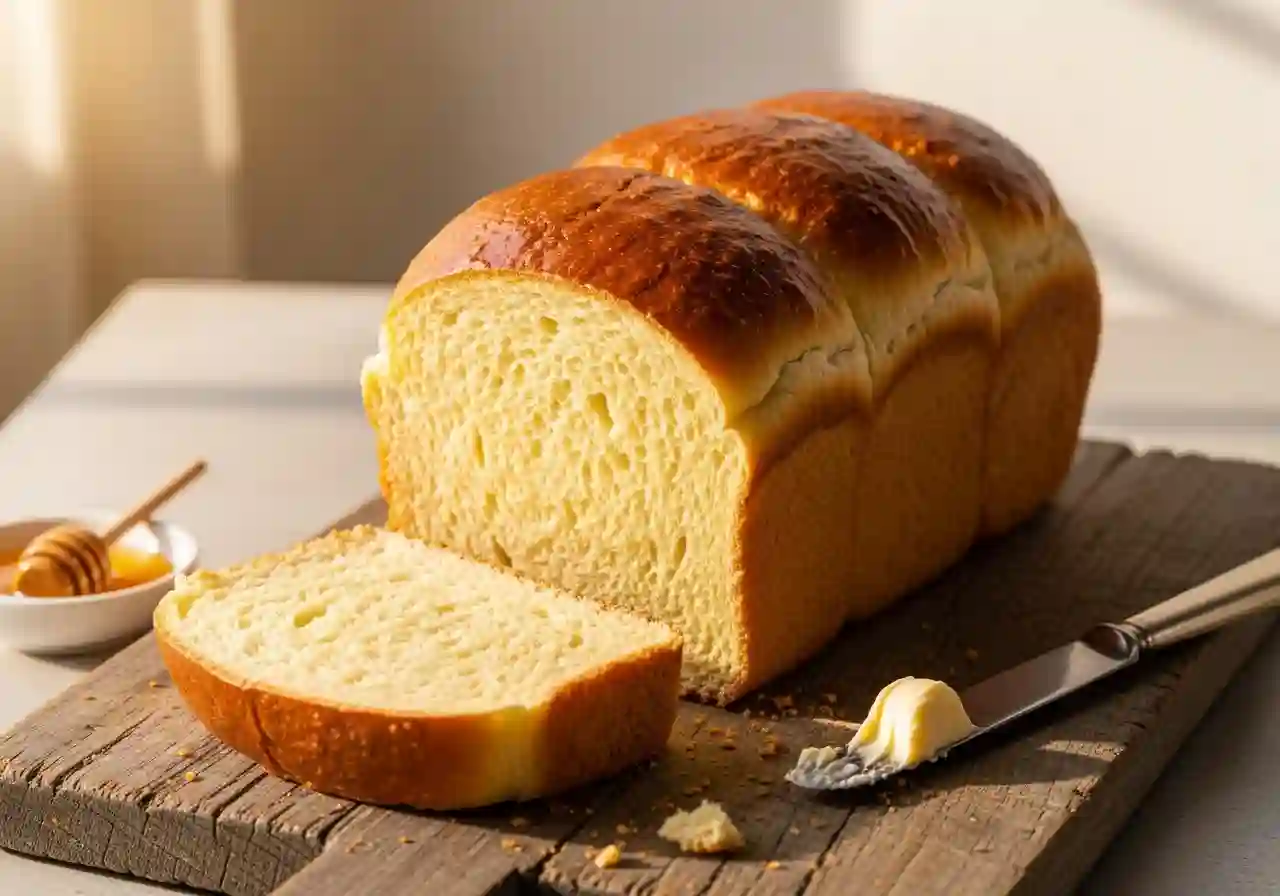
Honey Buttermilk Bread Recipe: The Ultimate Soft & Fluffy Loaf
There’s a certain kind of magic in baking bread, a quiet alchemy that turns simple ingredients into a warm, fragrant loaf that feels like a hug from the inside. For me, that magic is captured perfectly in this Honey Buttermilk Bread. This isn’t just a recipe; it’s a memory. It’s the bread my grandmother would have cooling on the counter when we’d visit, its sweet, yeasty scent filling the entire house. The crust would have a slight give, and the inside would be so impossibly soft and tender that you’d need no butter at all (though we always added it). It’s the bread that turned me from a fearful baker into a confident one, and it’s the one I still make when I need my kitchen to feel like a home.
Why You’ll Love This Honey Buttermilk Bread
It’s Unbelievably Soft: The combination of buttermilk and honey creates an exceptionally tender crumb and a soft crust that stays that way for days.
The Flavor is Deeply Comforting: This isn’t a bland white bread. It has a subtle, sweet richness from the honey and a delightful tang from the buttermilk that makes every slice interesting.
Your House Will Smell Amazing: The aroma of this bread baking is pure, unadulterated comfort. It’s a sensory experience that is as rewarding as eating the bread itself.
It’s a Confident Baker’s Recipe: While it seems artisan, the process is straightforward and forgiving, making it a perfect project for both beginners and seasoned bakers.
The Ultimate Compliment
I once brought a loaf to a friend’s dinner party. Her father, a man known for his strong opinions and preference for store-bought, sterile-sliced bread, quietly took a slice. Then another. He finally looked up and said, “Now this is bread. This tastes like something.” It was the highest praise. This honey buttermilk bread has a way of disarming even the most stubborn of critics because its quality and homemade heart are simply undeniable.
What Makes It Special
The magic of this loaf isn’t complicated; it’s in the careful selection of a few key ingredients.
Cultured Buttermilk: This is the secret weapon. Its acidity tenderizes the gluten strands, resulting in a supremely soft texture, while imparting a subtle, pleasant tang.
Pure Honey: Honey doesn’t just sweeten; it attracts and retains moisture, keeping the bread soft for longer. It also caramelizes slightly in the oven, giving the crust a beautiful golden color and a hint of floral sweetness.
A Pinch of Ginger: This tiny addition works behind the scenes with the yeast, giving it a little boost to ensure a strong, reliable rise for a light and airy loaf.
Melted Butter: Brushed on top after baking, it gives the crust a gorgeous sheen and buttery flavor. Mixed into the dough, it enriches the entire crumb.
Making It Happen: The Journey of the Loaf
This process is a narrative, not just a list. Let’s walk through it.
First, we wake up the yeast. In a medium bowl, combine it with that pinch of ginger, a teaspoon of sugar, and the warm water. After about five minutes, it should be foamy and alive, a promise of the rise to come.
In a separate bowl, gently whisk together the warm buttermilk, honey, kosher salt, and baking soda. The warmth is key here—it keeps the yeast happy. Pour this creamy mixture into your foamy yeast, and the party has officially started.
Now, into the bowl of your stand mixer, add three cups of flour and pour the liquid ingredients over top. Mix on low for a few minutes until it becomes a smooth, shaggy batter. With the mixer still running, slowly stream in the melted, cooled butter. Once it’s fully incorporated, begin adding the remaining flour, one cup at a time. Watch for the moment the dough pulls away from the sides of the bowl and forms a cohesive ball.
Turn this ball out onto a lightly floured surface and knead by hand for a few minutes. You’re looking for a smooth, elastic dough that springs back slowly when poked. Place it in a greased bowl, turn it over to coat the top, and cover it with a clean tea towel. Find a warm, draft-free spot and let it rise for about an hour and a half, until it has doubled in size.
Gently punch the air out of the risen dough—this is the satisfying part. Divide it in half and shape each piece into a loaf, placing them seam-side down into greased loaf pans. Cover them again and let them rise a second time until they’ve just crowned the tops of the pans.
While they rise, preheat your oven to 375°F. Bake the loaves for about 30 minutes. If the tops are browning too quickly, you can tent them loosely with foil. They’re done when they sound hollow when tapped. The moment they come out of the oven, brush the tops with a little melted butter for that perfect, soft, golden crust. Let them cool in the pans for just 10 minutes before turning them out onto a wire rack to cool completely.
You Must Know
Temperature is Everything: Your buttermilk and water must be warm (105-110°F), not hot. Hot liquid will kill the yeast, and cold liquid will slow it down dramatically.
Don’t Rush the Rise: The rising time is a guideline. The dough is ready when it has visibly doubled in size, not when the clock says so. A slow rise develops better flavor.
The Flour Variable: Depending on the humidity, you may not need all six cups of flour, or you may need a touch more. The “pull away from the bowl” cue is your true guide.
Cool Completely: I know it’s hard, but wait until the bread is fully cooled before slicing. Slicing it warm will result in a gummy texture.
Serving Your Honey Buttermilk Bread
This bread is a versatile champion. It makes the most incredible toast, grilled cheese, and turkey sandwiches. For a simple, elegant snack, toast a slice and top it with creamy avocado, a sprinkle of flaky salt, and red pepper flakes. It’s also the perfect side for a hearty soup or stew. For a drink pairing, a cold glass of milk is a classic, or a cup of robust English Breakfast tea complements the honey notes beautifully.
Make It Different
Whole Wheat Version: Substitute up to half of the bread flour with whole wheat flour for a nuttier, heartier loaf.
Herb & Garlic Twist: Knead in two tablespoons of finely chopped fresh herbs (like rosemary or thyme) and a teaspoon of garlic powder along with the final cup of flour.
Dairy-Free: Use a plant-based buttermilk alternative (like soy or almond milk with a tablespoon of lemon juice or vinegar added) and vegan butter.
A Touch of Sweetness: For a breakfast treat, add a cup of dried fruit like raisins or cranberries during the final kneading stage.
Storage and Reheating
Store your completely cooled bread in a plastic bag at room temperature for up to 4 days. For longer storage, wrap the loaf tightly in plastic wrap and then foil and freeze for up to 3 months. To revive a whole loaf, wrap it in foil and warm it in a 300°F oven for 15-20 minutes. For a single slice, toasting is the best way to bring back its warmth and texture.
Success Tips
Use a kitchen thermometer to check your liquid temperatures for foolproof results.
If your kitchen is cold, create a warm rising spot by placing the covered bowl in an oven with the light on.
Glass loaf pans can cause the bottom and sides to brown more quickly. If you use glass, you may want to reduce the oven temperature to 350°F and bake for a few minutes longer.
Frequently Asked Questions (FAQ)
1. Can I make this by hand without a stand mixer?
Absolutely! This dough can be mixed with a wooden spoon and then kneaded by hand on a floured surface for about 8-10 minutes. It’s a wonderful, tactile process.
2. I don’t have buttermilk. What can I use?
You can make a great substitute by adding 1 tablespoon of white vinegar or lemon juice to a liquid measuring cup, then adding enough regular milk to reach the 2-cup line. Let it sit for 5-10 minutes until it curdles slightly.
3. Why did my bread not rise very much?
The most common culprit is old yeast that has lost its potency. Always check the expiration date. Alternatively, your liquid could have been too hot and killed the yeast, or too cold and slowed it down.
4. Can I use all-purpose flour instead of bread flour?
Yes, you can. The bread will still be delicious, but the crumb might be slightly less chewy and a bit more tender, as bread flour has a higher protein content that creates stronger gluten.
5. My dough is really sticky. What should I do?
Don’t panic. During kneading, add flour one tablespoon at a time until the dough becomes manageable. It should still be slightly tacky but not stick to your hands.
Recipe Card: Honey Buttermilk Bread
Prep time: 25 minutes
Cook time: 30 minutes
Total time: 2 hours 40 minutes (includes rising)
Servings: 2 loaves
Category: Bread
Difficulty: Intermediate
Cuisine: American
Yield: 2 standard 9×5 loaves
Ingredients
1 tablespoon active dry yeast (or 1 packet)
1 pinch powdered ginger
1 teaspoon sugar
¼ cup warm water (105°F – 110°F)
2 cups warm cultured buttermilk (105°F – 110°F)
⅓ cup honey
1 teaspoon kosher salt (use ¾ teaspoon if using table salt)
¾ teaspoon baking soda
6 cups bread flour (all-purpose flour may be used)
¼ cup butter, melted and cooled
Instructions
In a medium bowl, combine yeast, ginger, sugar, and warm water. Set aside for 5 minutes until foamy.
In a separate bowl, whisk together warm buttermilk, honey, salt, and baking soda.
Pour the buttermilk mixture into the yeast mixture and stir to combine.
In the bowl of a stand mixer fitted with a dough hook, combine the liquid mixture with 3 cups of flour. Mix on low for 3-5 minutes until smooth.
With the mixer on low, stream in the melted butter until fully incorporated.
Add the remaining flour, one cup at a time, until the dough pulls away from the sides of the bowl.
Turn dough onto a floured surface and knead by hand for 5-7 minutes until smooth and elastic.
Place dough in a greased bowl, turn to coat, and cover with a towel. Let rise in a warm place for 1.5 hours, or until doubled.
Punch down dough and divide in half. Shape into two loaves and place in greased 9×5 inch loaf pans. Cover and let rise for 45 minutes, until nearly doubled.
Preheat oven to 375°F. Bake loaves for 30 minutes, tenting with foil if browning too quickly.
Remove from oven and immediately brush tops with additional melted butter. Cool in pans for 10 minutes before transferring to a wire rack to cool completely.
Notes
Glass or metal loaf pans both work well. Adjust baking time/temperature slightly if using glass.
For a soft crust, cover the loaves once they are completely cool.