Table of Contents
Toggle6-Ingredient Peanut Butter Pie Recipe (Easy Oreo Crust)
The Pie That Makes Promises It Keeps
Some recipes are projects, and some are promises. This one is a promise. A promise that in about twenty minutes of actual effort, you can conjure something that feels like a decadent, diner-style dessert, the kind that makes everyone at the table lean in a little closer. It’s a pie born from a desperate need for a last-minute dessert that wouldn’t require a trip to the store, relying instead on the humble heroes of the pantry: a sleeve of Oreos, a jar of peanut butter, and a trusty tub of Cool Whip. The magic isn’t just in its simplicity—it’s in the transformation. The rich, chocolatey crust, the impossibly creamy, salty-sweet filling that’s somehow both light and indulgent… it’s the dessert equivalent of a comforting hug. Every time I make it, I’m reminded that the best things in life don’t have to be complicated.
Why You’ll Love This Peanut Butter Pie
It’s Unbelievably Simple: With just six core ingredients and no baking required for the filling, it’s the ultimate “set it and forget it” dessert, perfect for chaotic weeks or spontaneous gatherings.
The Texture is Pure Magic: The contrast between the crunchy, buttery Oreo crust and the cloud-like, creamy peanut butter filling is a textural dream you’ll crave.
A Crowd-Pleasing Superstar: It effortlessly wins over both kids and adults, striking the perfect balance between nostalgic fun and sophisticated flavor.
Your Secret Weapon: It looks and tastes like you spent hours in the kitchen, yet the secret of its ease stays safely with you.
An Unexpected Seal of Approval
I’ll never forget the time I brought this to a family potluck. My uncle, a man of few words and a notorious skeptic of anything “no-bake,” eyed it warily before taking a sliver. He took one bite, then another, and finally looked up. “Now this,” he announced to the whole room, “is a proper pie.” He went back for a second, much larger piece. That’s the power of this dessert—it quietly wins over even the toughest critics.
What Makes It Special
The Oreo Crust: This isn’t just a base; it’s a deep, fudgy, and crispy foundation. The cookies melt into a perfect crust that holds its shape, adding a essential chocolate bitterness to balance the sweet filling.
Creamy Peanut Butter: Using a standard creamy peanut butter (not natural/oily) is key. It provides that iconic, rich, salty-sweet flavor and the sturdy body for the filling.
The Cool Whip Factor: This is the ingredient that creates the pie’s signature light and airy mousse texture, making each bite melt on your tongue instead of sitting heavily in your stomach.
Making It Happen: Your Simple Journey to Pie Bliss
First, let’s build our foundation. Preheat your oven and give your pie plate a light coating of spray. Take those Oreos—cream filling and all—and pulse them into fine, dark crumbs in a food processor. The scent of chocolate will already start to feel promising. Pour in the melted, golden butter and stir until every crumb is glistening and resembles damp sand. Press this mixture firmly and evenly into your plate, building up the sides. A few minutes in the oven transforms it into a firm, fragrant crust. Set it aside on a wire rack and walk away. Let it cool completely; patience here ensures your crust stays crisp.
Now, for the creamy heart of the pie. In a large bowl, use an electric mixer to beat the softened cream cheese and peanut butter together until they are completely smooth and unified. This mixture will be wonderfully thick. Gently mix in the powdered sugar until it disappears, then fold in the Cool Whip. I like to do this by hand, using a large spatula in sweeping motions, to keep that airy volume.
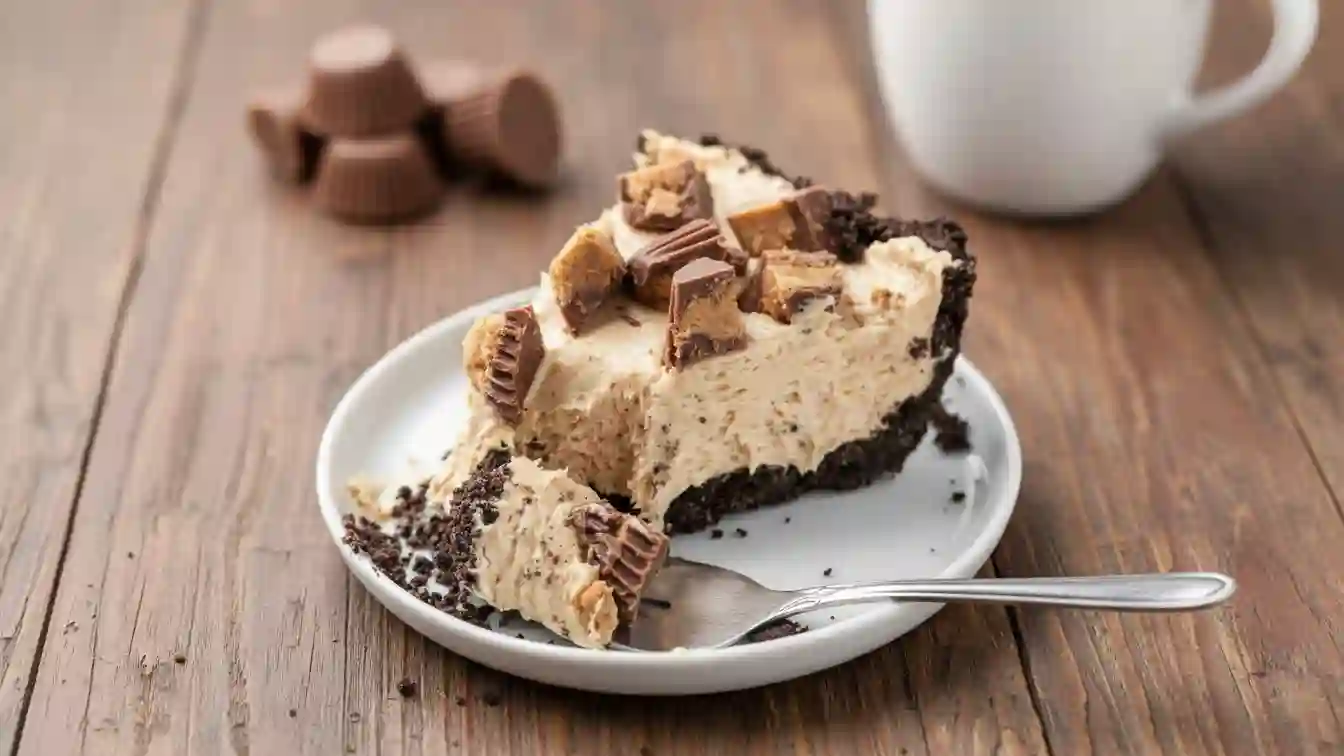
Once your crust is cool to the touch, scrape every bit of the fluffy peanut butter filling into it. Smooth the top into a perfect, inviting layer. This is your canvas. Scatter chopped Reese’s cups, a sprinkle of crumbs, or a drizzle of chocolate over the top. Then, the final act of discipline: let it chill. Tuck it into the freezer for a firm, almost ice-cream-like slice, or the fridge for a softer set.
You Must Know
Room Temperature is Key: Your cream cheese must be softened. If it’s cold, you’ll have lumpy filling.
Pack the Crust Tight: Really press the Oreo crumbs in. A well-packed crust holds together beautifully when sliced.
Cool the Crust Completely: Filling a warm crust will make it soggy.
Fold, Don’t Beat: Gently folding in the Cool Whip preserves the filling’s light, moussey texture.
Chill Thoroughly: Don’t rush this. A full chill sets the pie for clean, perfect slices.
Serving Ideas
Serve this peanut butter pie cold, sliced into generous wedges. A dollop of freshly whipped cream or a scoop of vanilla bean ice cream alongside is glorious overkill. For a drink pairing, a glass of cold milk is classic perfection, while a cup of strong black coffee or a creamy stout beer makes for a wonderfully adult contrast.
Make It Different
Nut-Free: Use sunflower seed butter for a similar texture and a delightful, nut-free twist.
Chocolate Overload: Add a layer of melted chocolate ganache over the cooled crust before adding the filling.
Cookie Swap: Try Nutter Butter cookies for the crust for an extra peanut buttery punch.
Lighter Version: Use reduced-fat cream cheese and light Cool Whip. The texture will be slightly softer but still delicious.
Flavor Infusion: Add a teaspoon of vanilla extract or a pinch of espresso powder to the filling for depth.
Storage and Reheating Tips
Store the peanut butter pie tightly covered with plastic wrap or in an airtight container. It will keep in the refrigerator for 3-4 days or in the freezer for up to 2 months. For best texture, let a frozen pie sit at room temperature for 10-15 minutes before slicing. This pie does not need to be reheated and is always served cold.
Success Tips
For the cleanest slices, dip your knife in hot water and wipe it dry between each cut. If you’re using a blender for the Oreos, pulse in small batches to avoid uneven crumbs. And remember, a small food processor is a game-changer for making crumb crusts—it’s fast, even, and easy to clean.
Frequently Asked Questions (FAQ)
Can I use natural peanut butter?
It’s not recommended for this specific recipe. Natural peanut butters (the kind that separates) are often more oily and can make the filling greasy and prevent it from setting properly. A standard creamy peanut butter like Jif or Skippy works best.
Can I make this pie ahead of time?
Absolutely. In fact, it’s better made ahead! You can make it 1-2 days in advance. Keep it covered in the refrigerator until you’re ready to serve.
My filling seems too soft. What happened?
This usually means the cream cheese wasn’t fully softened, the Cool Whip was over-mixed and deflated, or the pie simply didn’t chill long enough. Ensure a full 4-5 hours in the fridge or 3 in the freezer.
Can I use homemade whipped cream instead of Cool Whip?
You can, but the texture will be different. Cool Whip has stabilizers that help the pie hold its shape for days. If using homemade whipped cream, fold in 1-2 tablespoons of powdered sugar for stability, and know the pie will be softer and best eaten within 1-2 days.
Do I have to bake the crust?
If you want a firm, crisp crust that holds its shape, yes, the brief bake is essential. For a no-bake version, you can simply chill the pressed crust for an hour, but it will have a softer, more crumbly texture.
Recipe Card: 6-Ingredient Peanut Butter Pie with Easy Oreo Crust
Prep Time: 20 minutes
Cook Time: 10 minutes
Total Time: 5 hours 30 minutes (includes chilling)
Servings: 8
Category: Dessert
Difficulty: Easy
Cuisine: American
Yield: One 9-inch pie
Ingredients:
Crust:
30 Oreo cookies, crushed (about 2 ⅔ cups of crumbs)
5 tablespoons butter, melted
Filling:
8 oz cream cheese, softened to room temperature
1 cup creamy peanut butter (not natural)
¾ cup powdered sugar
8 oz Cool Whip, thawed
Optional Toppings:
Chopped Reese’s cups, Reese’s pieces, crushed Oreos, chocolate or caramel drizzle
Instructions:
For the Crust: Preheat oven to 350°F (175°C). Lightly coat a 9-inch pie plate with non-stick spray.
Crush the Oreos (creams included) into fine crumbs. Stir in the melted butter until the mixture resembles wet sand.
Press the crumbs firmly and evenly into the bottom and up the sides of the pie plate. Bake for 8-10 minutes. Transfer to a wire rack and cool completely.
For the Filling: Using an electric mixer, beat the cream cheese and peanut butter on medium speed until completely smooth and combined.
Add the powdered sugar and mix on low until incorporated.
Using a large spatula, gently fold in the thawed Cool Whip until no white streaks remain.
Spoon the filling into the completely cooled crust and spread into a smooth, even layer. Add desired toppings.
Chill in the freezer for at least 3 hours, or in the refrigerator for at least 5 hours or overnight, until fully set. Serve cold.
Notes:
For a firmer, ice-cream-like texture, store and serve the pie directly from the freezer, letting it sit at room temperature for 10 minutes before slicing.
Nutrition Information: (Per serving, approximate) Calories: 580 | Fat: 40g | Saturated Fat: 16g | Carbohydrates: 48g | Sugar: 36g | Protein: 11g